| What players search for | Status on Aug 21 | Safe conclusion |
|---|---|---|
| FOV slider | Not present | No in-game FOV slider is currently exposed. |
| Camera distance | Not present | There is no camera-distance setting to move the third-person camera back. |
| /fov 120 | Chat message | It is not a documented or working command. |
| Engine.ini ultrawide edit | Unsupported and reportedly patched | Do not rely on it or present it as a safe fix. |
Mistfall Hunter FOV and the /fov 120 chat message
/fov 120 text appears repeatedly in global chat and player discussions, but no official documentation or reproducible current-build test shows that it changes the camera. Typing it only posts the message.The official July 10 community AMA grouped FOV adjustments with requested controls and quality-of-life features. The response said more convenience features were being developed over time; it did not confirm an FOV slider, camera-distance option, command, or release date. See the official AMA response. A developer also replied to an earlier FOV request that the team would consider it, which is acknowledgement, not a shipped control. See the developer reply on Steam.
Ultrawide configuration-file workaround
A community post showed an Unreal Engine configuration change for 21:9 and 32:9 displays, then updated the post to say the configuration-file workaround no longer works after the August 8 update. That is enough reason not to copy the edit into a “fix” page. Avoid unsupported configuration edits and wait for an in-game control or official instruction. See the dated community report and update.
What you can safely change now
- Use the highest comfortable resolution and UI scale your system can run consistently.
- Remove motion blur, depth of field, film grain, or heavy camera shake only if those options are present and hurt clarity.
- Use a stable FPS cap so camera movement is not confused with frame-time spikes.
- For ultrawide discomfort, test the supported display modes and resolution options rather than editing Engine.ini.
If the real symptom is high FPS with uneven camera motion rather than camera distance, use the stuttering fix checklist. That page owns frame-pacing diagnosis; this page owns FOV and general settings.
90-second stutter triage
If the game shows high FPS but feels uneven, test one variable at a time before rewriting the whole preset. Start with the settings most likely to affect frame pacing in a dark extraction ARPG: ray tracing, fullscreen mode, VSync, frame generation, and the upscaler mode.
- Turn ray tracing off first if it is enabled.
- Switch between fullscreen and borderless fullscreen, then keep the smoother mode for the next tests.
- Test VSync off and on with a stable FPS cap, especially if camera turns feel uneven.
- Disable frame generation while diagnosing stutter so it does not hide frame-time spikes.
- Compare DLSS, FSR, TSR, and native resolution in the same area instead of changing several graphics options together.
- If stutter appears after a longer session, restart the game and repeat the same route once to separate cache/loading behavior from a raw settings problem.
For a focused version of this diagnostic path, use the Mistfall Hunter stuttering fix checklist. If the issue is mainly DLSS, FSR, TSR, native rendering, or frame generation, use the Mistfall Hunter upscaler and frame generation test. If you need a copyable test report for a support or community thread, use the Mistfall Hunter performance checklist.
If you are still deciding whether your PC is close to minimum or recommended hardware, check the Mistfall Hunter system requirements first. If you are on integrated graphics or clearly below GTX 1060 / RX 580 class, use the low-end PC check before tuning individual settings.
Source context: this checklist follows the public Mistfall Hunter Steam discussion pattern around stutter and the troubleshooting suggestions shared in the Steam community thread. Treat it as a diagnostic sequence, not a confirmed driver or hardware prescription.
Settings priority
| Priority | Setting area | Diagnostic approach | Why |
|---|---|---|---|
| 1 | Frame rate limit | Cap to a stable value your PC can hold. | Consistent pacing is better than spikes during fights. |
| 2 | Motion blur | Turn off if available. | Extraction fights need target and route clarity. |
| 3 | Shadows | Use medium first, lower if frame drops appear. | Often expensive and can hurt visibility. |
| 4 | Effects quality | Start medium, adjust after group fights. | Spell effects can hide enemy movement. |
| 5 | Input | Disable mouse acceleration if present; use consistent sensitivity. | Muscle memory matters when escaping. |
| 6 | Audio | Prioritize effects and footsteps over music. | Sound cues can warn you before a bad engage. |
FPS drops and stutter checklist
Some players report the pattern that feels worst in extraction games: the counter shows 100+ FPS, then combat, camera turns, traversal, or object interaction suddenly feels like 30 FPS. That is not only an average-FPS problem. It can come from shader compilation, asset streaming, traversal loading, overlays, CPU spikes, VRAM pressure, or an uncapped GPU pushing heat and power too hard.
| Symptom | First test | What it tells you |
|---|---|---|
| Stutter when entering a room or new area | Replay the same path twice without changing settings. | If the second pass is smoother, it may be shader or asset compilation. |
| Drop when turning the camera | Cap FPS 20-30% below your normal average. | If it smooths out, the issue is likely frame pacing, not raw GPU power. |
| Drop during spell effects or swings | Lower effects, shadows, and post-processing one at a time. | This isolates expensive combat visuals without ruining texture clarity. |
| High FPS but uneven feel | Watch 1% lows or frame-time graph, not only average FPS. | Average FPS can hide spikes that matter during extraction fights. |
| Stutter after long play sessions | Check temperatures, VRAM usage, overlays, and background recording. | Heat, memory pressure, or capture tools can create late-session spikes. |
Frame pacing setup order
- Start with a copied or safe character state if the test risks gear.
- Turn off ray tracing first if the option exists.
- Pick a frame cap your PC can hold during effects-heavy combat, not only in menus.
- Test fullscreen, borderless, and exclusive fullscreen if the game exposes them.
- Test DLSS, FSR, XeSS, or native resolution separately. Do not change upscaling, shadows, effects, and resolution scale in the same run.
- Lower shadows, effects, volumetrics, reflections, and post-processing before lowering texture quality.
- Keep the chosen preset for at least two comparable runs before changing more settings.
The goal is not to make every screenshot look flat. The goal is to make camera turns, hit effects, loot interaction, and extraction movement feel predictable enough that you can make decisions under pressure.
Low-end PC diagnostic baseline
- If your GPU is below the official minimum class, treat the test as experimental and start with the low-end PC guide.
- Use fullscreen or exclusive fullscreen if it gives better frame pacing.
- Lower shadows and effects before lowering texture quality.
- Keep resolution scale at native if possible; lower only after testing.
- Close overlays and background recording tools during the first performance test.
- Use a conservative FPS cap instead of chasing the highest possible menu FPS.
Competitive clarity preset
- Turn off motion blur, film grain, depth of field, and heavy camera shake if available.
- Keep contrast and brightness high enough to read dark areas without washing out UI.
- Use a frame cap that avoids heat throttling in long sessions.
Visual reference
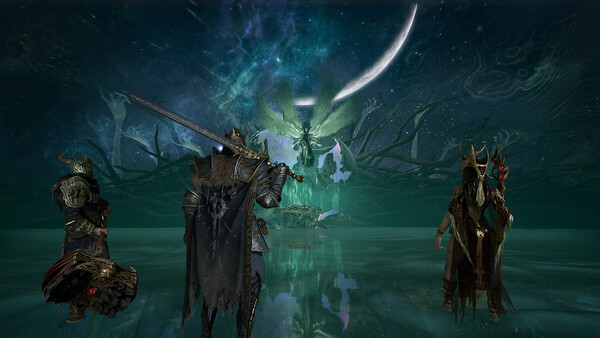
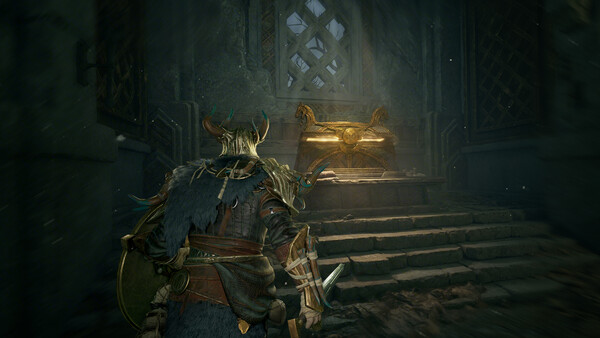
Use the official screenshots below as a reminder of what you are trying to preserve while tuning. Keep character silhouettes, enemy motion, loot spaces, and dark-area readability before chasing maximum foliage, shadow, or particle quality.

Repeatable live-build test routine
- Run the tutorial or first safe area at default settings.
- Record average FPS, 1% low feel, and stutter moments.
- Lower shadows/effects first.
- Run one combat-heavy test before risking valuable gear.
- Save the stable preset and avoid changing sensitivity mid-session.
Use the performance checklist when you want to track each test and copy the result after the run.
Settings FAQ
Why does 100 FPS still feel bad?
Because average FPS is not the whole experience. A short frame-time spike can make a camera turn, swing, dodge, or loot interaction feel delayed even while the counter still looks high.
Should I lower textures first?
Usually no. Lower shadows, effects, reflections, volumetrics, post-processing, and ray tracing first. Lower textures when VRAM usage is clearly causing stutter or blurry streaming.
Should I use DLSS or FSR?
Test upscaling as a separate step. If it improves average FPS but makes camera motion or input feel uneven, use a lower frame cap or try native resolution with lower effects.
What if stutter starts after a few hours?
Repeat the same route after restarting the game, then check temperature, VRAM pressure, overlays, background recording, and whether the second pass through the same area feels smoother.
Is this a final settings guide?
No. This is an evidence-bounded diagnostic baseline, not a universal preset. A recommendation applies only to the tested hardware, driver, resolution, options, and repeatable route.